

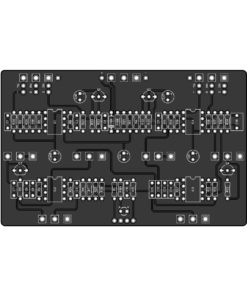
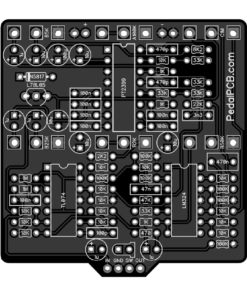
This project utilizes multiple stacked circuit boards.
Special considerations must be made regarding the height of components, particularly electrolytic and film capacitors.
See project build documentation for more information.
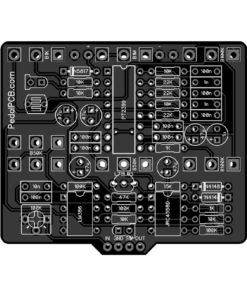
Controls
- Rate
- Depth
- Manual
- Regeneration
Specifications
- Designed for a 125B enclosure with top-mounted jacks
Documentation

The company, product and service names used in this web site are for identification purposes only. All trademarks and registered trademarks are the property of their respective owners. This product is not manufactured or distributed by Boss, maker of the Boss BF-2 Flanger.
PedalPCB is not affiliated with Boss or Roland Corporation.
| Weight | 1 oz |
|---|---|
| Dimensions | 5.125 × 3.95 × 0.5 in |
1 review for Byzantium Flanger
Only logged in customers who have purchased this product may leave a review.
Related products
jpier2012 (verified owner) –
Sounds fantastic. Build requires attention to detail and proper choice of parts, but it wasn’t particularly difficult. I got my 125B enclosure from Tayda and the footswitch hole caused the switch PCB to be off enough from the holes that I had to use resistor leads instead of header pins to connect the top PCB to the footswitch. That was a pain, but no big deal.
Overall it wasn’t hard to configure after building. I biased the BBD by ear. Turn depth all the way up, speed probably about halfway, and regen wherever you want. Just turn the trim until the flanging is most prevalent. I then set the CLOCK trimpot by ear as well. I turned it all the way to the right and then slightly to the left to get a nice thick flange throughout the entire LFO wave without affecting the pitch. It was hard to figure out exactly where to land it because of the interaction with the manual knob. You can use the test pad to check the frequency, though you’ll have to check the forums for the correct value. I also turned the RES trim all the way down. The regeneration knob provides plenty of feedback to get you well into outer space swirl territory. If you turn both RES and regen all the way up, it’ll oscillate.